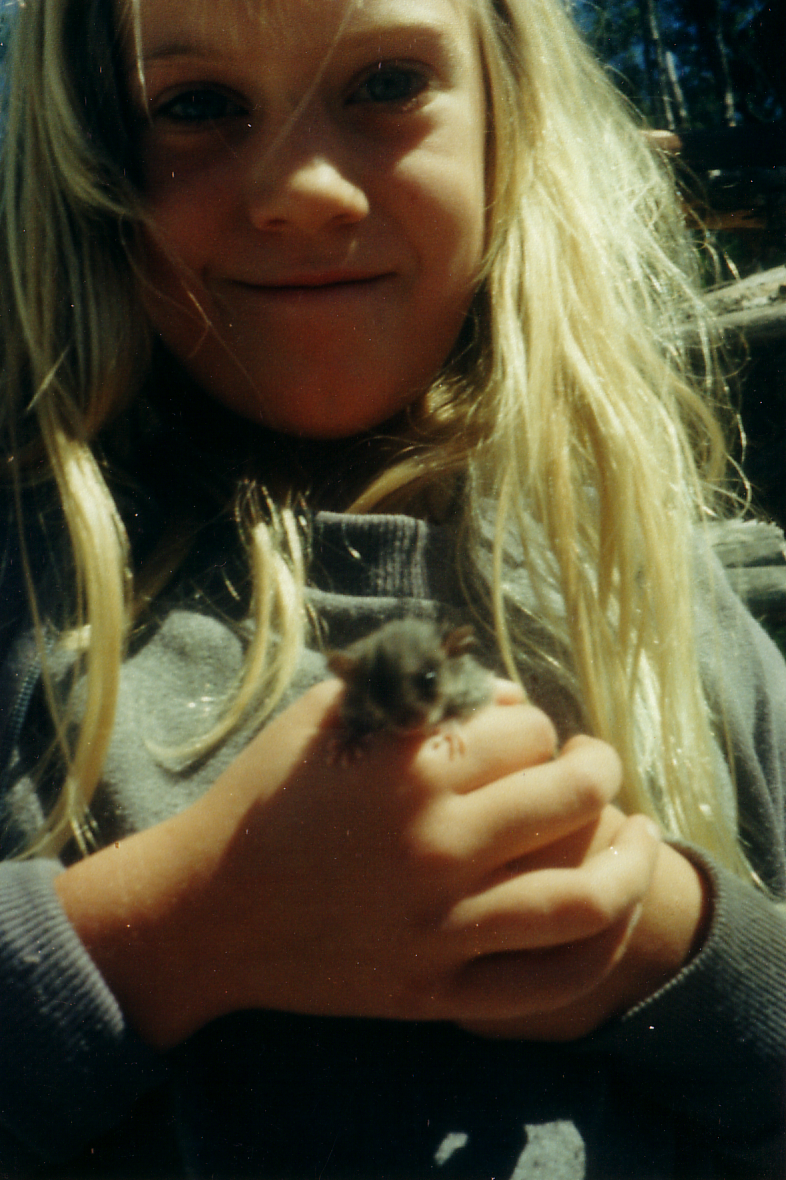
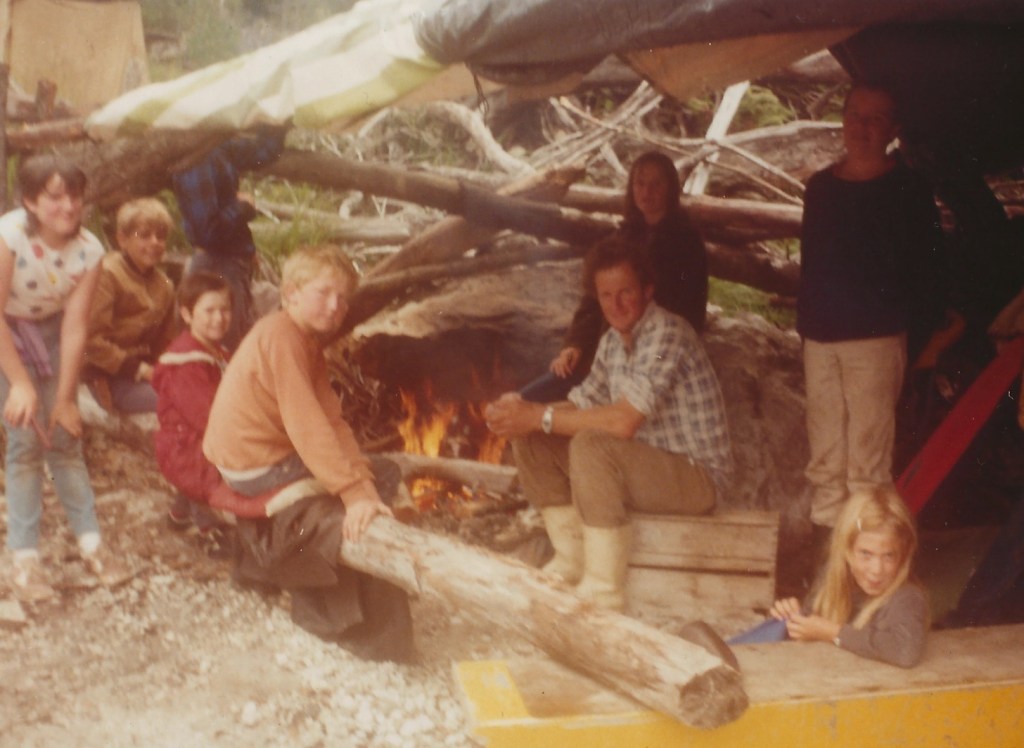
But first the back-story… back in 1985, severe drought conditions dropped the Gordon River Dam water levels low enough to expose the Huon Pine trees that had been flooded when the 140m high Dam was built in 1974. Dad obtained a permit to collect some of this exotic timber and took 9-year-old me and my brother along for the adventure. At the time, I was more excited about the pigmy possums we rescued and camping/boating than any old trees.
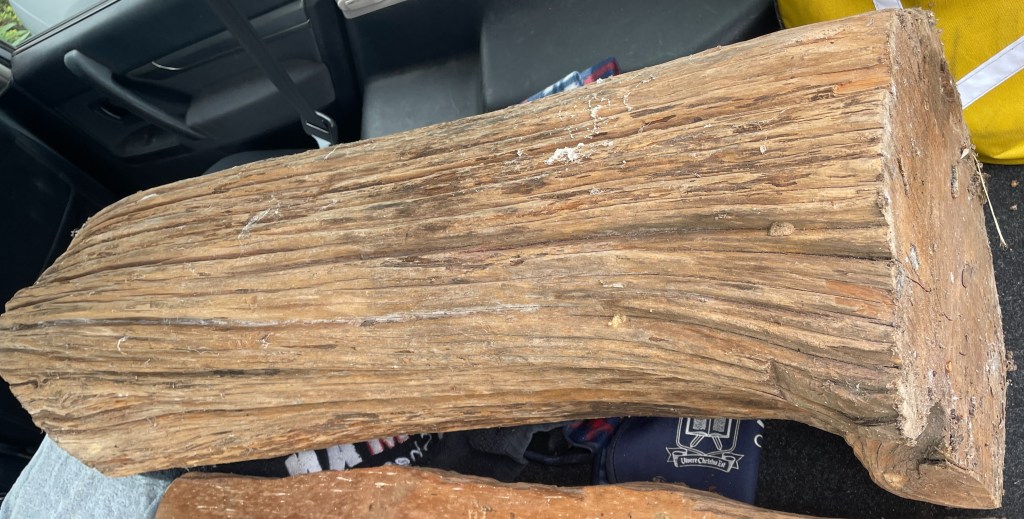
I feel a strong connection to my Tasmanian/Lutruwita heritage and love using Tasmanian timber such as Blackwood and Huon Pine to make furniture pieces for our home, so I was eager to re-engage with this Huon Pine log that had been ‘drying’ in Dad’s shed for almost 40 years.
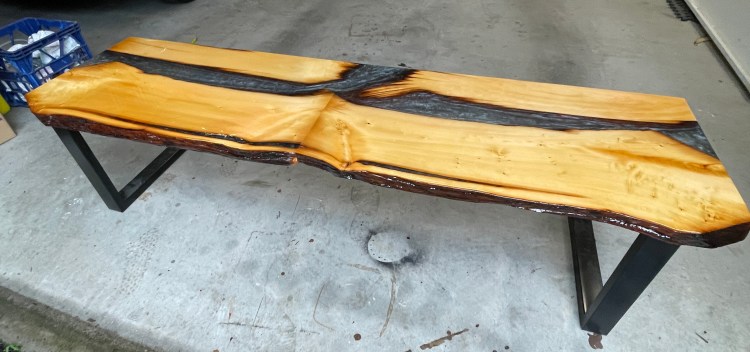
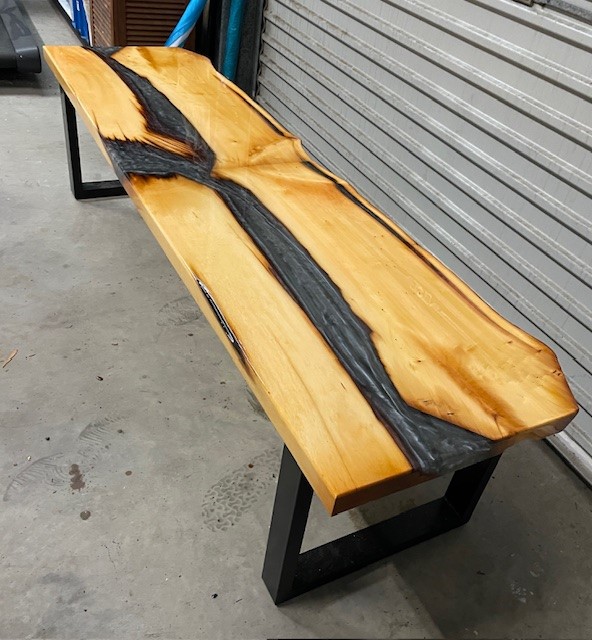
This was my first attempt at a resin table and so it was a learning experience, but I enjoyed the process and am pretty chuffed with the result. Hardcore craftsmen will criticize my pre-manufactured table legs but I wanted the contrast of the black steel and the end result was much nicer than my welding skills would have produced! (and cheaper too).
THE PROCESS
STEP 1 MILLING – Getting the raw log milled was not as easy as I expected, it was too small to be done by a commercial mill but too large for the school workshop and I wasn’t confident enough to attempt the chainsaw method. Finally, we found Carlo from Frontier Sawmills who was able to mill the log into 4 slabs with some offcuts to stash for later.
STEP 2 PREPARATION – In hindsight, I should have put the boards through the thicknesser to ensure an even surface, but they looked pretty good and I was impatient. I used a biscuit joint to join the two boards end to end. The raw edges were cleaned up with a wire brush and nylon wheel brush drill bit, wiped down with NORCLEAN-PLUS and sealed with a brush coat of clear LIQUID GLASS.
STEP 3 MOULD TRAY – Another obstacle was fitting the melamine sheet for the mould in the car (really could use a ute!). TIP make sure to line all surfaces of the mould and any spacers with packing tape. I also sealed all the edges with hot glue (much quicker than waiting for silicon to dry).
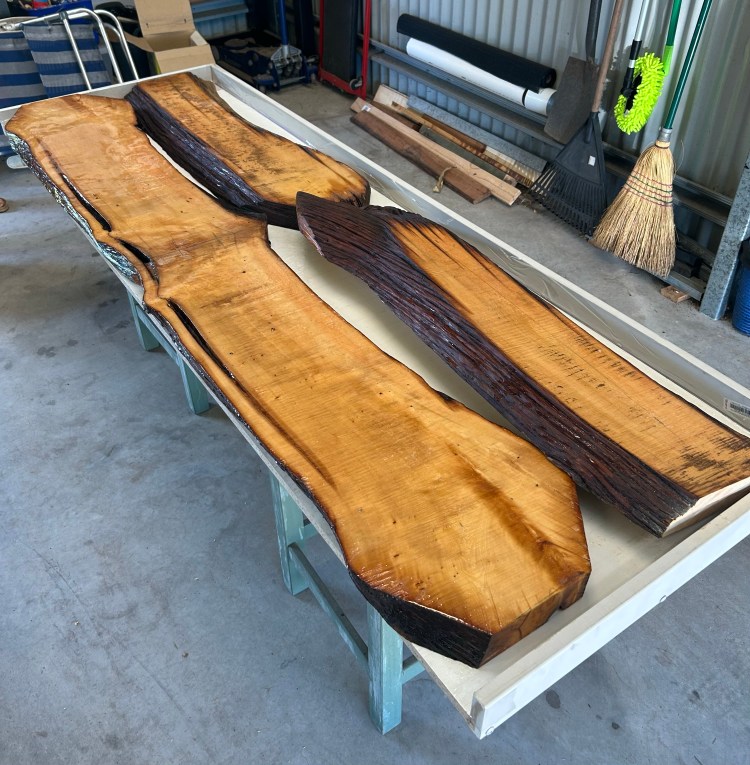
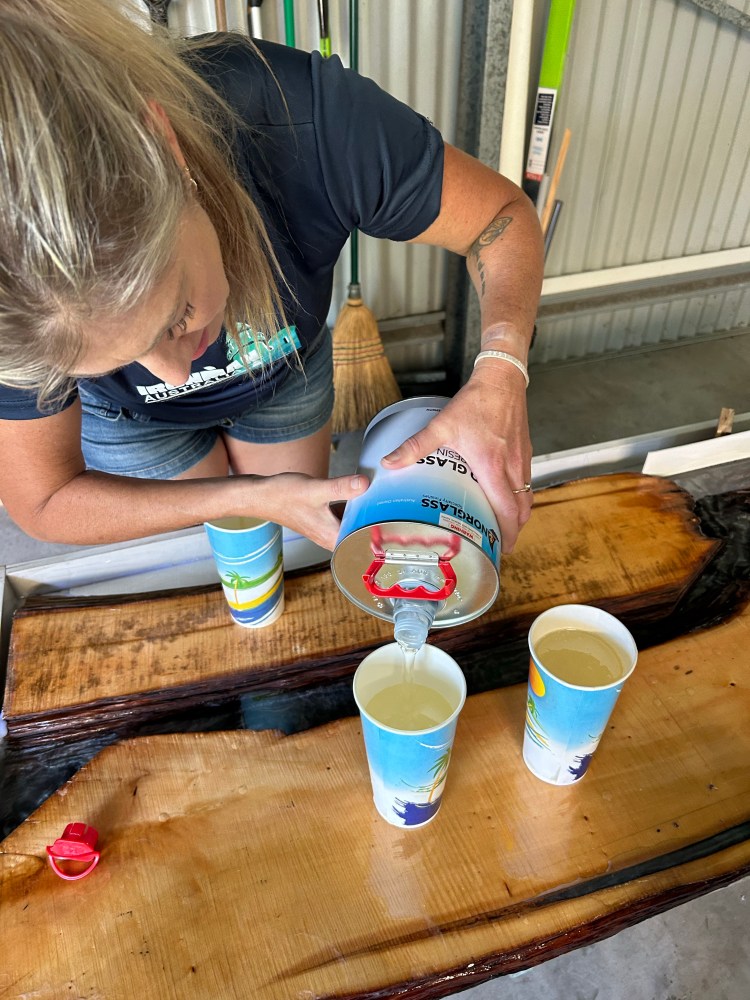
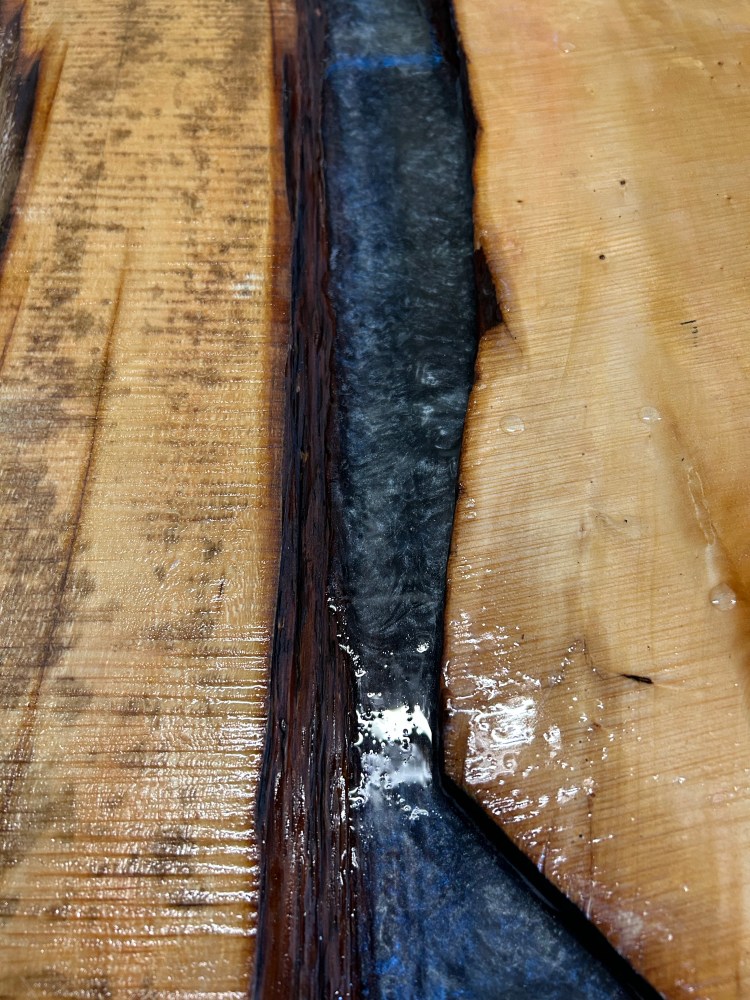
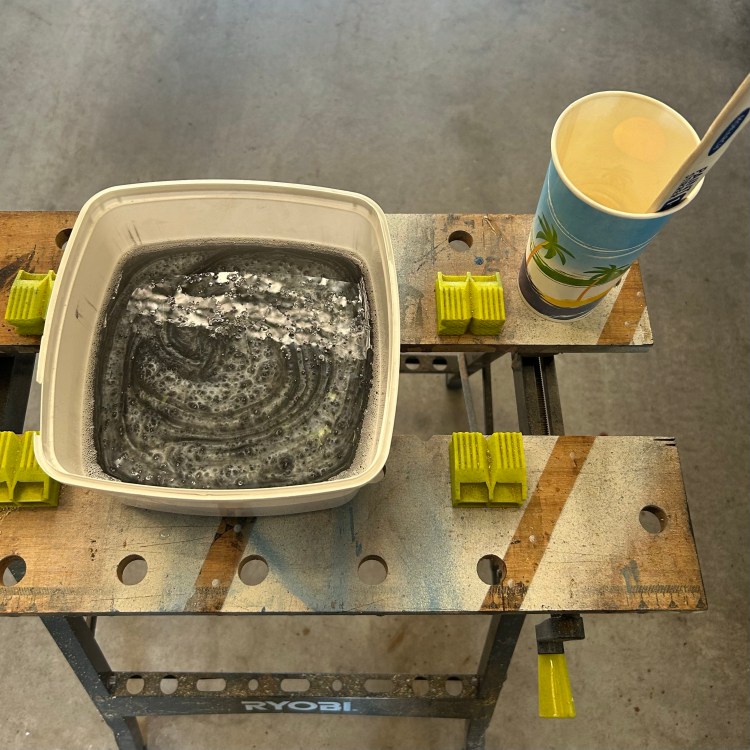
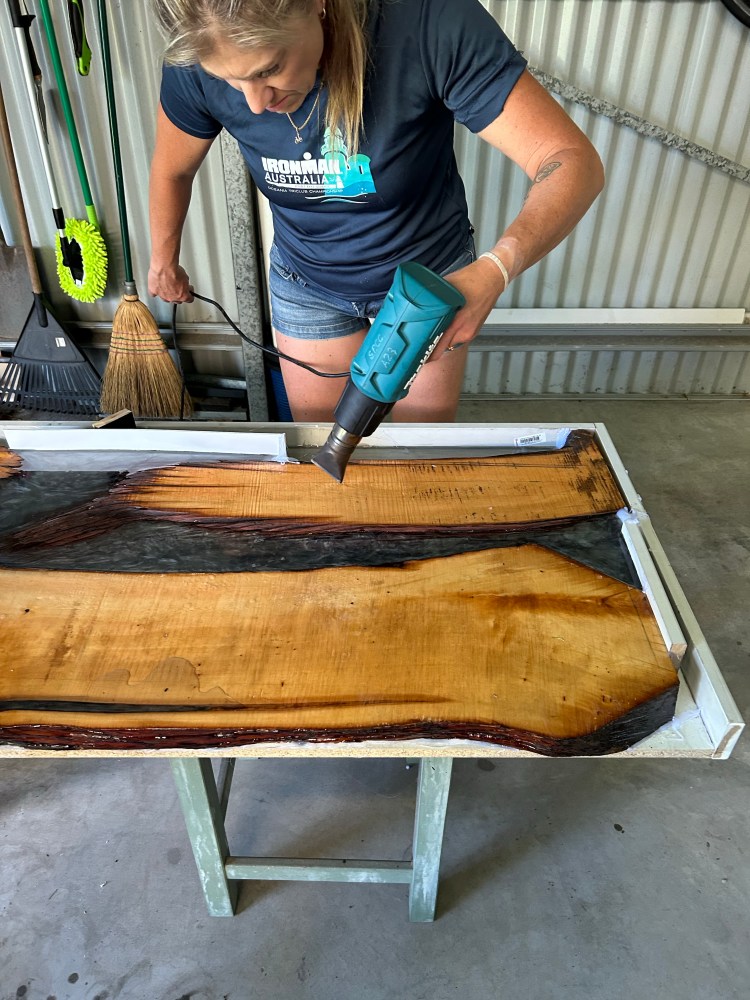
STEP 4 RESIN – I used 10 litres of NORGLASS LIQUID GLASS (The 9L I originally calculated would have been enough if I had prepped the mould better to avoid runoff). The semi-transparent colour was achieved with Gun Metal Pigment Powder mixed at a ratio of ¼ tsp per 2 litres of resin (purchased from Resin Warehouse). Resin river was done in two pours with 24 hours in between and then left to cure for 7 days. TIP a heat gun is useful to get rid of air bubbles.

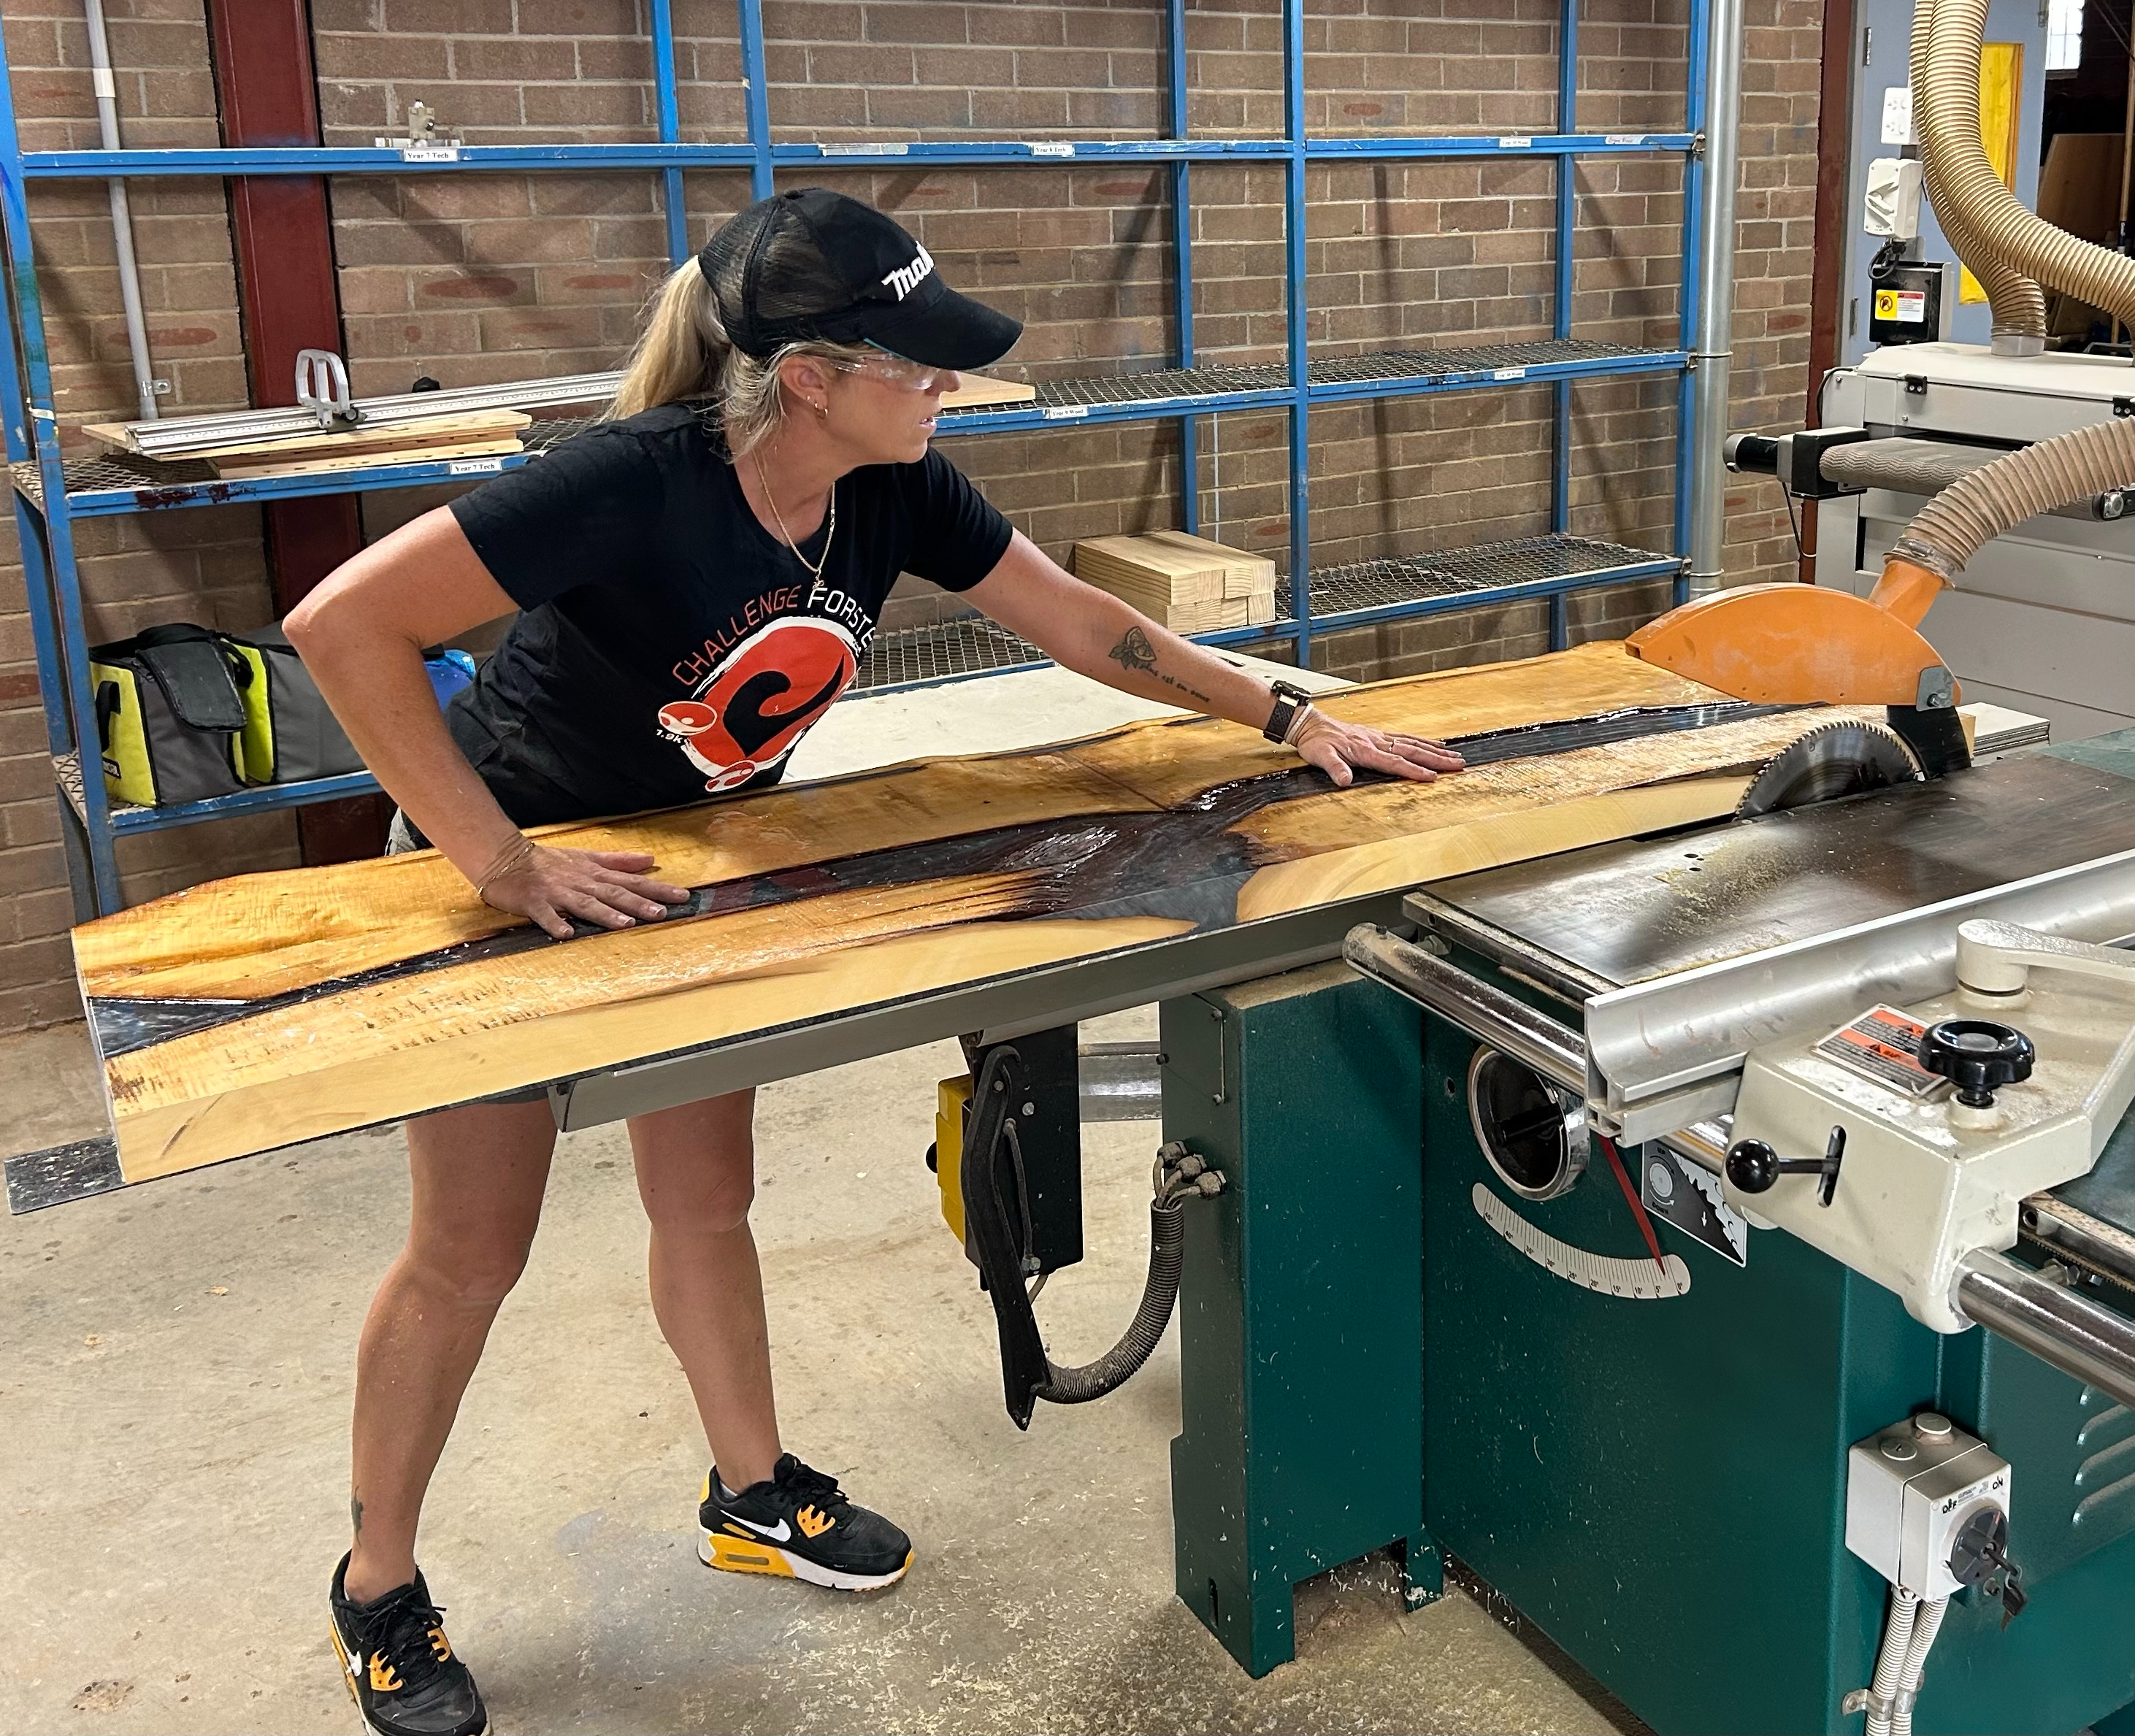
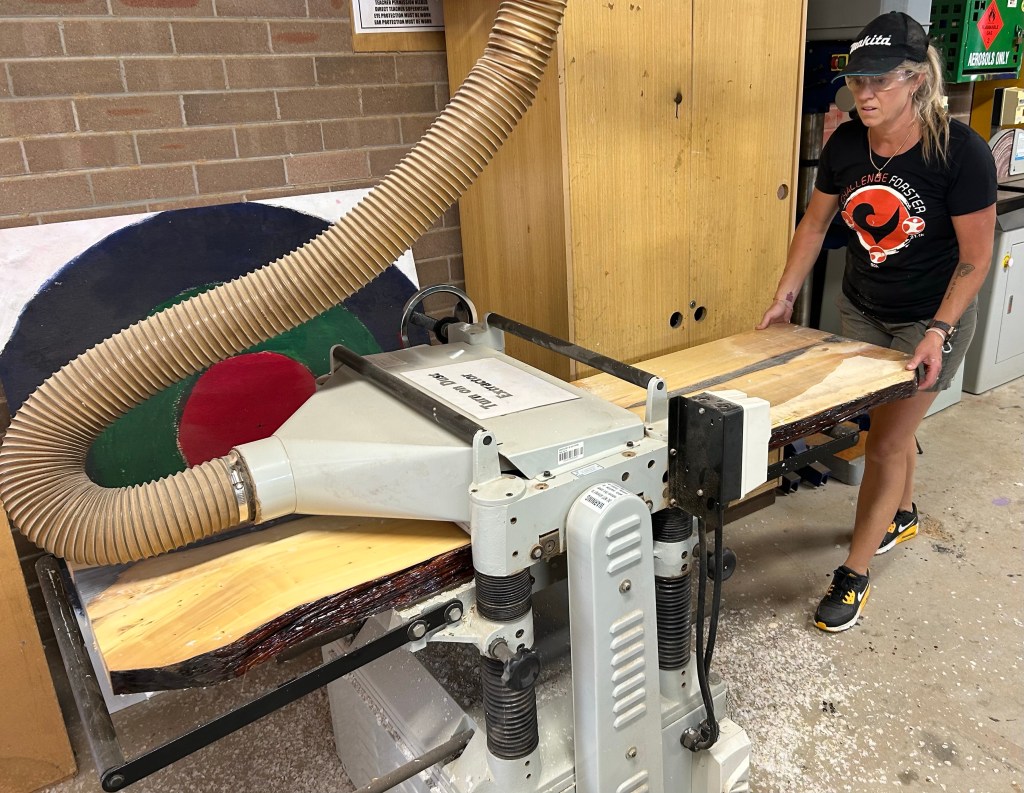
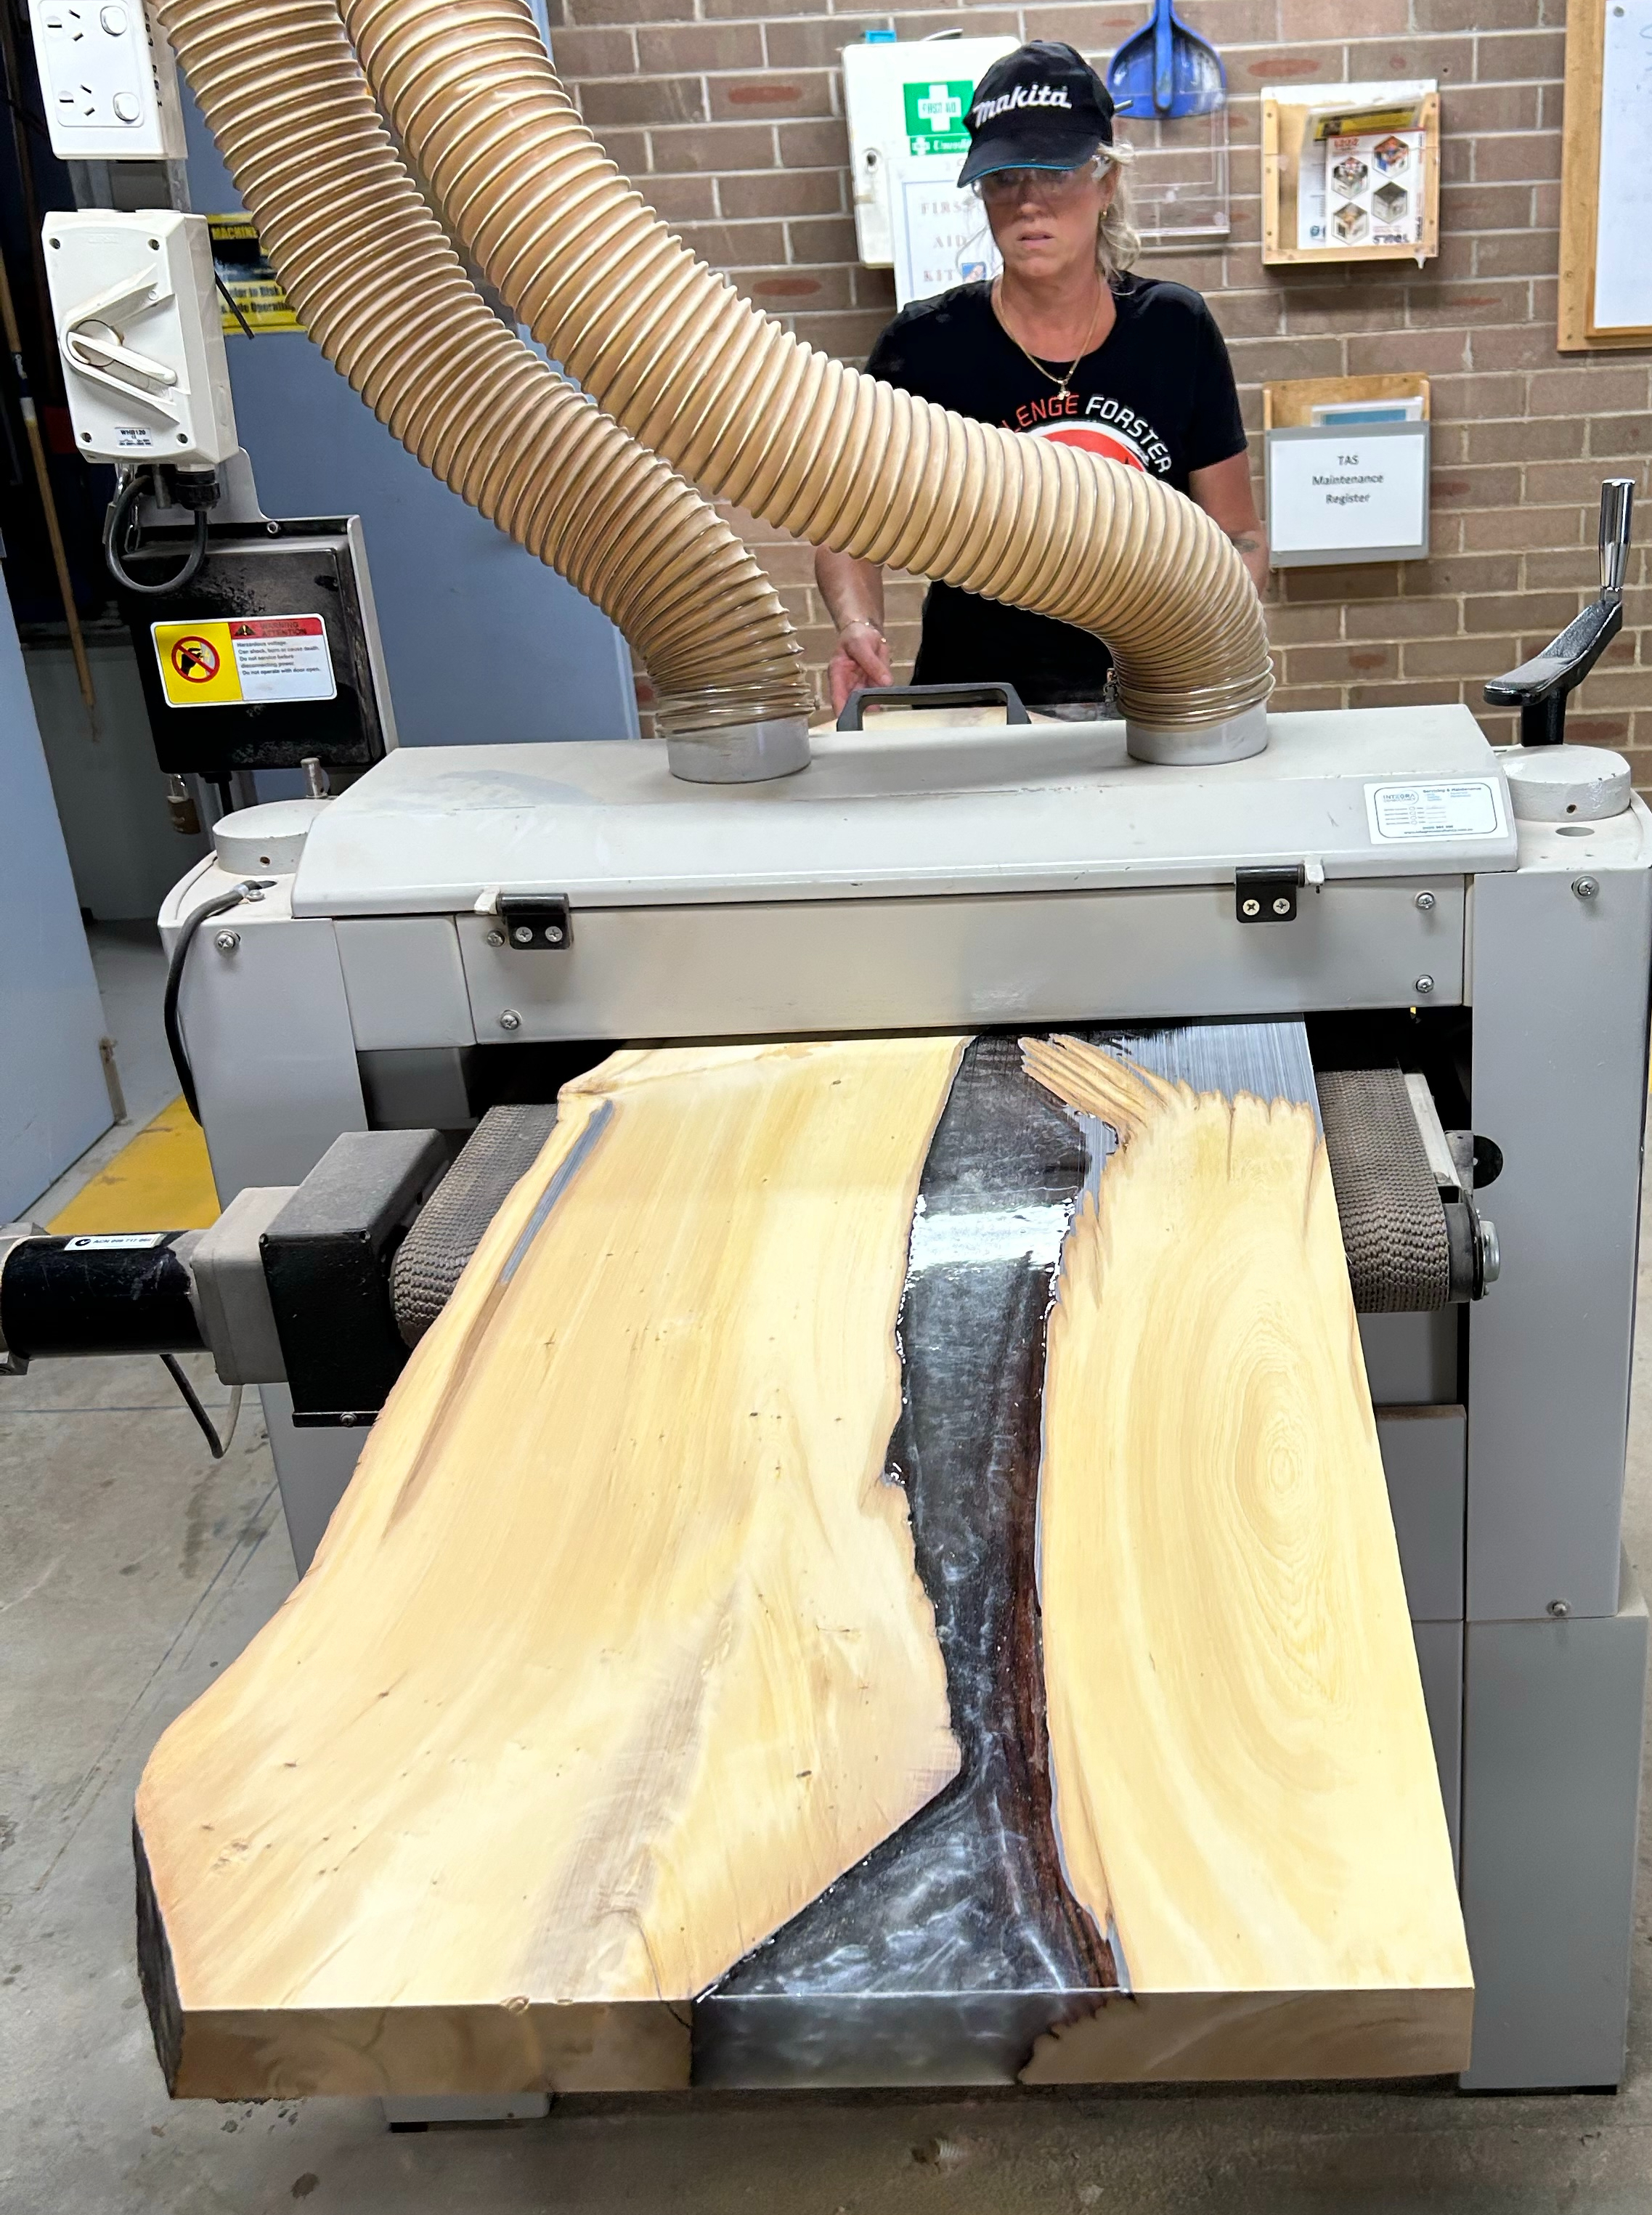
STEP 5 TABLE TOP – Squashed back into the car we transported the tabletop to the workshop where I used the Sliding Panel Saw to trim the edges to size. The piece was cumbersome and too large to use any guides etc, but somehow, we managed to square it up nicely. Maximum capacity for the Thicknesser was 500mm so final dimensions are 1800mmL x 500mmW x 42mmH. A few passes through the Drum Sander and we were done with the workshop.
STEP 6 FINISHING – I used a Trimmer to slightly round the edges, then Palm Sander with 80/120/240 grit to prep the surfaces. Two coats of clear varnish finished off the base of the table before attaching the legs. For the tabletop and edges I brushed/poured on two coats of clear LIQUID GLASS waiting 24 hours between coats. This was allowed to cure for 72 hours before final sanding and polishing.
MATERIALS/CONSUMABLES:
- Huon Pine boards
- 9 Litres resin (I used NORGLASS LIQUID GLASS)
- 1 Litre cleaning solvent (I used NORCLEAN-PLUS)
- 20g Pigment Powder
- Melamine sheet
- Packing tape
- Hot glue sticks
- Biscuits
- Screws (for mould/attaching legs)
- Sandpaper/sanding blocks
- Paint brushes
- 100ml Varnish
EQUIPMENT:
- Drill
- Hot glue gun
- Heat gun
- Saw
- Biscuit Jointer
- Thicknesser
- Drum Sander
- Trimmer
- Palm sander

Wow – great article and your table has turned out so beautiful. You are so multi-skilled.
LikeLike
I am so impressed, not just at the skill but the imagination….you are incredible, it is a beautiful piece but the story is so good as well…so glad this was shared with us
LikeLike
Thanks Rod, I do love when there is a story behind something – it turns a project into art I think!
LikeLike